
 Laptops
 Desktop computers
 Ordenadores All-in-One
 Computer bundles
 Monitors
 Refurbished mobile phones
 Tablets
 Zone Apple
 Peripherals and Accessories
 Networks and Cables












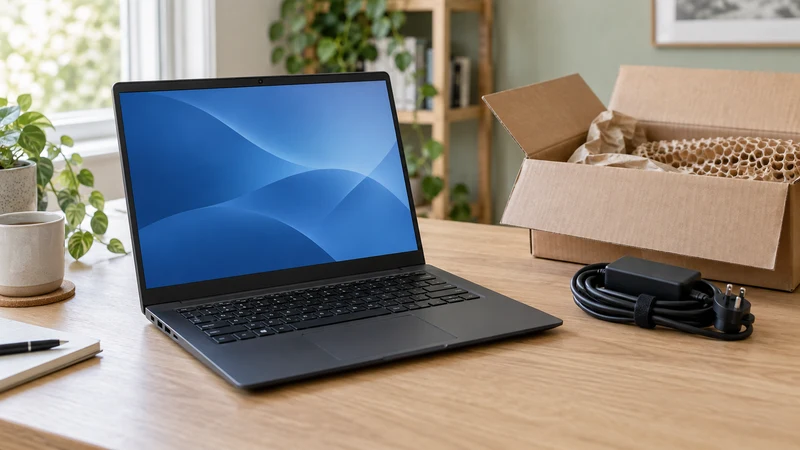
Your refurbished laptop has just come out of its box. Before installing your programs and moving your files, check that you received the configuration you ordered and that the features you need work properly. Start with this checklist and allow any updates to finish in their own time.
Have your order confirmation, the supplied charger and, if available, headphones and a USB drive with a test file ready. The Windows steps below refer to Windows 11; if you bought a different operating system or no operating system, that part will differ.
1. Check the packaging, laptop and charger
Before discarding the box, check that it contains the laptop and the accessories listed in your order. If the packaging has been knocked or you spot damage, take both an overall photograph and a close-up to help explain what you found.
With the laptop switched off, inspect the lid, base, hinges and connectors. Gently open and close the screen without forcing it. Compare its exterior condition with the description of the specific product you bought. A sign of previous use and a broken part are different things: ask about anything that differs from the listing.
Check the charger cable and connector for visible damage too. If the casing is swollen, you notice a burning smell or find a damaged cable, stop testing and do not connect the equipment: contact support.
2. Make sure the configuration matches your order
Connect the charger and turn on the laptop. Compare these details with your order confirmation:
- Laptop model.
- Processor and installed RAM.
- Storage capacity.
- Operating system, if included.
- Keyboard layout and advertised display features.
In Windows 11, search for “About your PC” from Start to check the processor and installed RAM. For an initial look at storage, open File Explorer and select “This PC”.
Do not confuse free space with disk capacity: Windows and programs already use some of it. The figure shown by the system can also differ from the advertised capacity because of measurement units and partitions. If the difference leaves you unsure, send support a screenshot before concluding that the disk is wrong.
3. Test the screen, keyboard and touchpad
Open a blank document and type a few lines. Try letters, numbers, accented characters where applicable, space, Enter and backspace. Check that the characters match the keys; if they do not, the configured keyboard language may need changing.
Move the pointer using the touchpad, click and try scrolling. Connect your mouse too if you plan to use one.
View a light background and then a dark one, and adjust the brightness. Look for lines, flickering or areas that make content difficult to see. If you notice something unusual, note when it happens and take a photograph. “A line appears when I move the lid” is more useful than simply “the screen does not work”.
4. Check the connections you will use
Connect to Wi-Fi, open several pages and play a short video. Then try the features relevant to you:
| Feature | Simple check |
|---|---|
| USB | Connect a working USB drive and open a test file |
| Speakers and headphones | Play audio and check both outputs, if available |
| Camera | Open the Camera app and check the picture, if a camera is included |
| Microphone | Record a sentence and play it back |
| External monitor | Connect your screen with a compatible cable, if you have one |
If an app cannot detect the camera or microphone, check its permissions before assuming a hardware fault. To isolate a connection problem, try another cable or accessory you know works.
A USB-C shaped port does not necessarily support every function. Video output and charging depend on the model and port. For help choosing a display connection, see our HDMI and DisplayPort guide.
5. Observe charging and battery operation
Check that the system recognises the charger. Once there is enough charge, unplug it and use the laptop for an everyday task such as browsing or writing. Observe whether it stays on and how the charge percentage changes.
A short test cannot establish a guaranteed runtime. Brightness, applications, updates and battery condition all affect it. Compare what you observe with the battery terms of your purchase; a momentary Windows estimate is not a definitive measurement.
If support needs more information, Windows can generate a report. Open “Command Prompt”, type powercfg /batteryreport and press Enter. It will show the location of an HTML file you can open in your browser. Microsoft documents the command in its Powercfg reference. The report provides technical information; it does not replace a review of how the laptop behaves.
6. Check Windows before moving your files
If your purchase included Windows 11, check its status under Settings → System → Activation. If an error appears, save a screenshot and contact the seller. You can check the procedure in Microsoft’s activation guide.
Allow pending updates to finish and restart when prompted. Then retest any features that had problems. Do this before spending time transferring all your documents and setting up your work tools.
If something does not match, give a specific description
To help support understand the issue, prepare:
- Order number and laptop model.
- What you expected and what you observed.
- Steps that reproduce the problem.
- Relevant photographs or screenshots, without passwords or personal documents.
- Whether it happens on the charger, on battery or both.
For example: “The laptop switches off when I disconnect the charger, although it shows 60% battery.” This gives a clearer starting point than “it does not work properly”.
If you bought it from Ecoportatil, contact our team and consult warranty and returns to report an issue. You do not need to dismantle your laptop for the checks in this guide.
Your first-day checklist
- I have checked the packaging, exterior condition and included accessories.
- The model and configuration match my order.
- I have tested the screen, keyboard and touchpad.
- The network, sound and connections I need work.
- I have checked charging and battery operation.
- I have checked the included operating system and its messages.
- I have saved the information needed if I need support.
With these checks complete, you have a starting point for using the laptop and spotting any differences from your purchase. To learn about the work done before a device goes on sale, read about our refurbishment process.
