
 Laptops
 Desktop computers
 Ordenadores All-in-One
 Computer bundles
 Monitors
 Refurbished mobile phones
 Tablets
 Zone Apple
 Peripherals and Accessories
 Networks and Cables












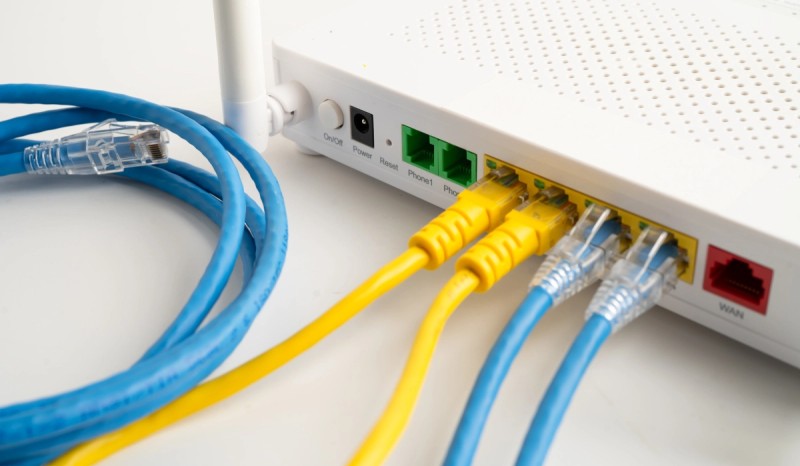
If you've ever tried to host an online game with friends, access your security camera remotely, or improve the download speed of a P2P program, you've probably encountered the need to open router ports. While it might sound technical, it's actually quite simple if you follow the correct steps.
In this guide we will explain exactly what port forwarding is and how you can configure it on your router regardless of the brand (Movistar, Orange, Vodafone, etc.) to get the most out of your internet connection.
What does opening a router port mean and what is it used for?
Imagine your router as the front door of your house with a security lock. By default, this door is locked tight to anyone trying to enter from the outside (the internet), thus protecting all the devices on your local network. This is a fundamental security measure.
Opening a port is like making a copy of a specific key for a particular door and giving it to a trusted service. You're telling your router, "When someone calls this door (port), let them in and direct them straight to this device (your PC or console)." This allows a program or service to receive data directly from the internet without being blocked.
You will need to open a port on your router primarily for:
- Improving your online gaming connection: This is the most common reason. It allows you to obtain an Open NAT (or Type 1/2 on consoles), which reduces lag, improves matchmaking, and solves problems joining games.
- Hosting game servers: If you want to create your own Minecraft, Valheim, or any other game server to play with friends.
- Accessing local devices from outside: To view your security cameras, access a NAS server, or control both high-end and cheap computers remotely.
- Optimizing file-sharing programs (P2P): Significantly improves download speeds in applications like qBittorrent.
Preparations: two crucial steps before starting
Before you even think about accessing your router's settings, you need to have two pieces of information ready. Skipping these steps is the cause of 90% of problems and why port forwarding won't work.
1. Find out your router's IP address and login credentials
To access the administration panel, you need to know your router's "address." The easiest way to find it in Windows is:
- Search for "cmd" in the Start menu to open the Command Prompt.
- Type the command
ipconfigand press Enter. - Look for the address listed under "Default Gateway". That's your router's IP address. The most common ones are
192.168.1.1or192.168.0.1.
You'll also need your username and password to log in. This information is usually found on a sticker on the bottom or back of the router.
2. Assign a static IP address to the destination device
You can easily configure a static IP address from your PC or console's network settings. Choose an IP address that's within your network's range (for example, 192.168.1.50) and not already in use by another device to avoid conflicts.
You might be interested in: Changing your computer's IP address!
How to open ports on your router: a step-by-step guide
With the preparations complete, the process is very similar for most routers on the market.
Step 1: Access your router's settings panel
Open a web browser (Chrome, Firefox, Edge, etc.) and type your router's IP address (the one you obtained with `ipconfig`) into the address bar, as if it were a website. A login screen will appear where you must enter the username and password found on the sticker on your router.
Step 2: Find the "port forwarding" section
Now you need to navigate through the settings menus until you find the correct section. This is where each manufacturer uses a different name, but it's generally called one of these things:
- Port Forwarding (the most common term)
- Port Redirection or Port Remapping
- NAT or NAT Forwarding
- Virtual Servers (very common in TP-Link routers and others)
- Port Opening
Look in sections such as "Advanced settings", "Firewall", "Network" or "Games and applications".
Step 3: Create the new rule to open the port
Within that section, you'll see an option to "Add new rule," "Create service," or something similar. A form will open with several fields that you must fill out:
- Rule/Application Name: Give it a name that will help you identify it (e.g., "PC Gaming", "Minecraft Server").
- Destination IP Address: Here you must enter the static IP address that you assigned to your PC or console during setup.
- Protocol: Choose the one requested by the game or application. The options will be TCP, UDP, or sometimes Both.
- External Port (or Port Range): Enter the number or range of ports you need to open (e.g., 25565-25565).
- Internal Port: This is the destination port on your device. You should almost always use the same number as the external port.
Fill in the information and click "Add," "Apply," or "Save." If you need to open multiple ports or ranges, simply repeat the process, creating a new rule for each one.
Step 4: Save the changes and verify that the port is open
Once the rule is created, look for a general "Save settings" or "Apply changes" button on your router. Some models may require a restart for the changes to take effect.
To confirm that you have correctly opened the router ports, you can use an online tool like "Port Checker." These websites will ask for your public IP address (you can find it by searching "What is my IP?" on Google) and the port number. If everything is correct, it will indicate that the port is "Open."
And that's it! You've now opened the ports and your cheap gaming PC is ready for the best possible connection.


